


How to Cut and Style Wigs: A Comprehensive Guide
Wearing a wigs can be a fun and transformative experience, but finding the perfect style can sometimes feel like a daunting task. One of the most common challenges is achieving the desired length and shape. Luckily, with the right tools and techniques, you can confidently cut and style your wig at home. This comprehensive guide will walk you through the process step-by-step, from choosing the right tools to perfecting your desired look.
Understanding Your Wigs
Before you dive into cutting and styling, it’s crucial to understand the type of wig you’re working with.
- Synthetic wigs: Made from synthetic fibers, these wigs are generally more affordable but require special care. They can’t be heat styled, so your styling options are limited.
- Human hair wigs: Crafted from real human hair, these wigs offer the most versatility as they can be styled with heat tools just like your natural hair. However, they tend to be more expensive.
Essential Tools for Wigs Cutting and Styling
Having the right tools is essential for achieving professional-looking results. Here’s a list of essential tools:
- Wig head: A wig head is a mannequin head specifically designed for wigs. It helps you secure the wig while cutting and styling.
- Wig clips: These clips help you section and hold the wig in place during the cutting process.
- Sharp scissors: Using hair cutting scissors specifically designed for hair is crucial for clean cuts.
- Thinning shears: These shears help to blend layers and remove bulk.
- Wide-tooth comb: A wide-tooth comb gently detangles the wig without causing damage.
- Styling products: Depending on your wig type, you might need products like wig-safe hairspray, mousse, or gel.
Preparing Your Wigs for Cutting
Proper preparation is key to a successful wig cut. Follow these steps:
- Detangle: Gently detangle the wig using a wide-tooth comb, starting from the ends and working your way up.
- Secure the wig: Place the wig securely on the wig head, using wig clips to hold it in place.
- Sectioning: Divide the wig into sections based on the desired style. This will help you maintain control during the cutting process.
Basic Cutting Techniques
There are several basic cutting techniques you can use to achieve different styles:
- Blunt cut: For a clean, sharp look, cut straight across the desired length.
- Layered cut: Create layers by cutting shorter sections within the overall length.
- Textured cut: Use point cutting or thinning shears to create a choppy, textured effect.
- Angled cut: Create a dramatic look by cutting the front shorter than the back.
Styling Your Wig
Once you’ve cut your wig to the desired length, it’s time to style it. Here are some popular styles:
- Straight: Use a flat iron or blow dryer to achieve a sleek, straight look.
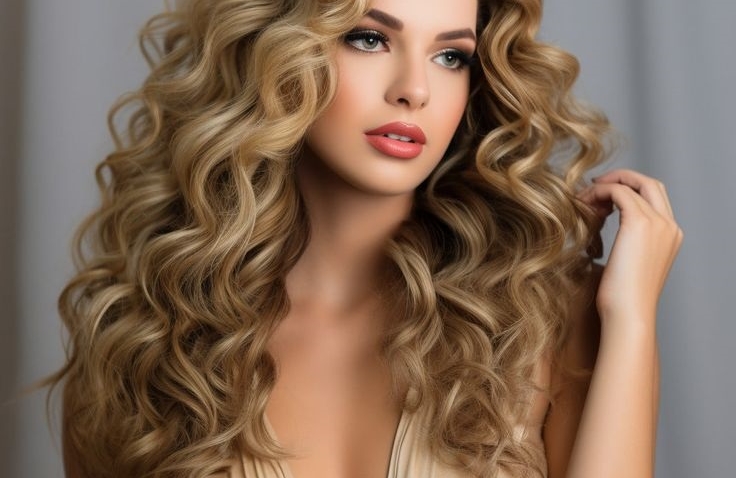
- Curly: Use curling irons or rollers to create curls or waves.
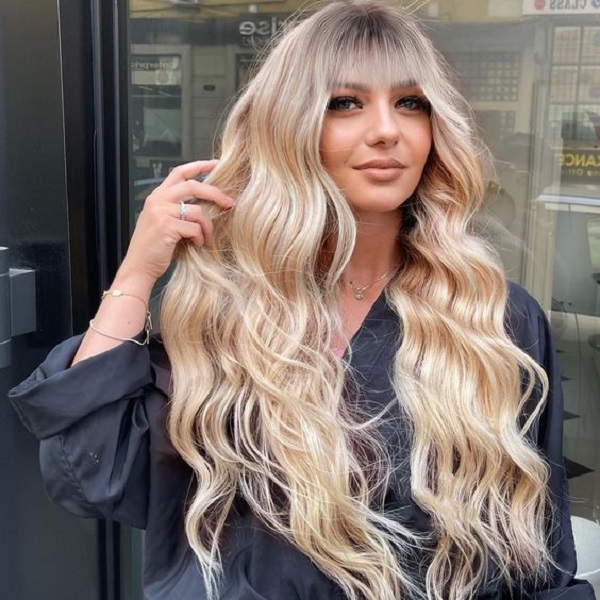
- Wavy: For a natural, beachy look, use a curling iron or sea salt spray.
Tips for Maintaining Your Wig
Proper care is essential for prolonging the life of your wig. Follow these tips:
- Gentle washing: Use a wig-specific shampoo and conditioner to gently cleanse your wig.
- Avoid heat: If you have a synthetic wig, avoid using heat styling tools.
- Proper storage: Store your wig on a wig stand to maintain its shape.
Common Wigs Cutting Mistakes and How to Avoid Them
Even experienced wig wearers can make mistakes. Here are some common errors and how to prevent them:
- Cutting too much: Start with small cuts and gradually work your way to the desired length.
- Uneven cuts: Take your time and carefully measure each section before cutting.
- Damaging the wig: Use sharp, hair cutting scissors and avoid pulling or tugging at the hair.
Cutting Your Wigs Layer by Layer
Understanding Layers
Layers can dramatically transform your wig’s appearance, adding volume, movement, and a more natural look. Let’s break down how to achieve different types of layers.

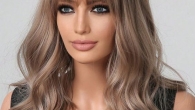
Long Layered Wig
For a classic, flowing look, long layers are perfect.
- Start at the back: Begin by sectioning the wig into horizontal layers. The bottom layer should be the shortest.
- Create layers: Gradually increase the length of each subsequent layer, working your way up the head.
- Blend the layers: Use thinning shears to soften the edges between layers and create a seamless transition.
- Consider face shape: Tailor the layers to your face shape. For example, long layers can frame a round face beautifully.
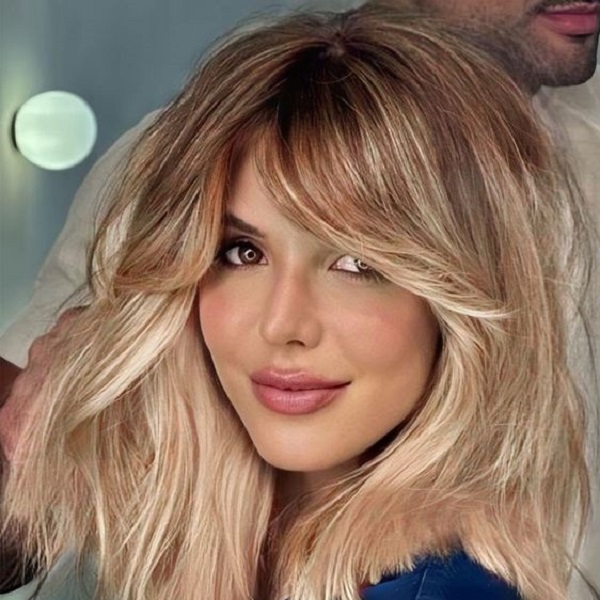
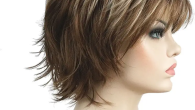
Short Layered Wig
Short layered wigs offer a modern and edgy look.
- Determine desired length: Decide on the overall length of the wig.
- Create a base layer: Cut the bottom layer to your desired length.
- Add shorter layers: Create shorter layers on top, gradually increasing the length towards the ends.
- Texturize: Use thinning shears to add texture and movement to the layers.
Choppy Layers
For a bold and rebellious style, choppy layers are the way to go.
- Create a base cut: Start with a blunt or slightly angled base cut.
- Add random lengths: Cut random lengths throughout the wig, using a point cutting technique.
- Texturize heavily: Use thinning shears to create a heavily textured, choppy effect.
Tips for Layered Wig Cutting
- Start small: Always start with small cuts and gradually increase the length as needed.
- Visualize the end result: Have a clear picture of the desired look in mind before you start cutting.
- Practice on a synthetic wig: If you’re new to wig cutting, practice on a synthetic wig first.
- Use a wig head: A wig head provides a stable base for cutting and ensures even layers.
Styling Your Layered Wigs
Layered wigs offer endless styling possibilities. Here are a few ideas:
- Beach waves: Create loose, effortless waves using a curling iron or saltwater spray.
- Curly: Add volume and bounce with curls. Experiment with different curl sizes and patterns.
- Straight: For a sleek look, straighten your layered wig using a flat iron.
- Half-up, half-down: This versatile style works well with layered wigs.
- Ponytails and braids: Layered wigs can be styled into various ponytail and braid styles.
Maintaining Your Layered Wigs
Proper care is essential for preserving the look of your layered wig.
- Gentle washing: Use a wig-specific shampoo and conditioner to avoid damaging the layers.
- Avoid heat styling: Excessive heat can damage the hair fibers and alter the layers.
- Regular detangling: Gently detangle the wig with a wide-tooth comb to prevent tangles and breakage.
- Proper storage: Store your wig on a wig stand to maintain its shape and prevent tangling.
Layered Wigs: Tailoring to Face Shape and Hair Texture
Round Face
- Aim for: Elongating the face
- Layers: Long, face-framing layers that start below the chin can create the illusion of a longer face.
- Avoid: Blunt cuts or too many short layers around the face.
Oval Face
- Aim for: Balancing the face
- Layers: Versatile face shape that can accommodate various layers. Soft, graduated layers can enhance your features.
- Avoid: Overly heavy layers that can overwhelm the face.
Square Face
- Aim for: Softening angles
- Layers: Long, face-framing layers that start at the chin can soften the jawline. Consider adding subtle layers throughout the wig.
- Avoid: Blunt cuts or heavy layers that can accentuate the square shape.
By following these guidelines, you can confidently cut, style, and maintain your layered wig. Remember, practice makes perfect, so don’t be afraid to experiment and find the style that best suits you.
Cutting and styling your own wig can be a rewarding experience. With practice and patience, you can achieve stunning results. Remember to start with small cuts, experiment with different styles, and take good care of your wig to ensure its longevity.


Leave a Reply