


How to Make Hair Wigs: A Comprehensive Guide
Creating your own hair wigs can be a rewarding and creative endeavor. Whether you’re looking to craft a custom wig for a unique style or for personal use, knowing how to make hair wigs can be incredibly useful. This guide will walk you through the steps to create a beautiful, high-quality wig from scratch. By the end, you’ll be equipped with the knowledge to start your wig-making journey with confidence.
Understanding the Basics of Wig Making
Types of Hair Wigs
Before diving into the process, it’s important to understand the different types of hair wigs available. Generally, wigs fall into two categories: synthetic and human hair.
- Synthetic Wigs: Made from artificial fibers, synthetic wigs are cost-effective and easy to maintain. They hold their shape well but may have a more limited range of styles.
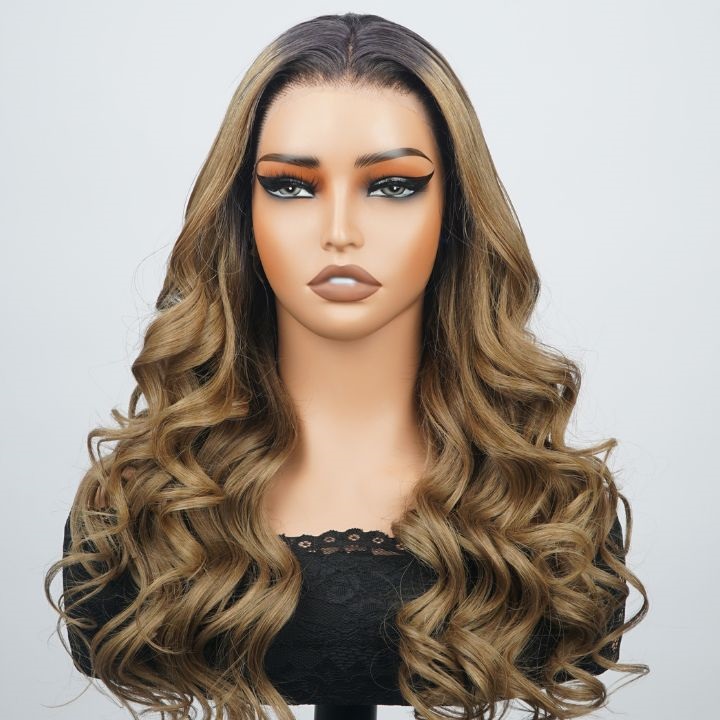
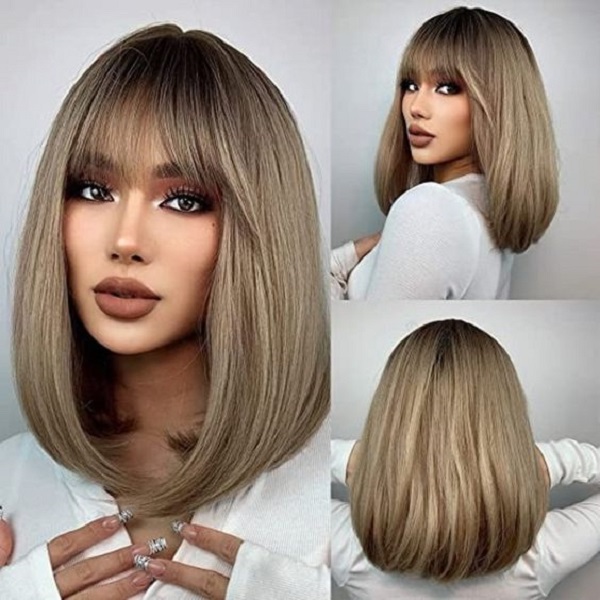
- Human Hair Wigs: These wigs offer a more natural look and feel, allowing for versatile styling. They require more care but can be styled just like natural hair.
Essential Tools and Materials
To get started with wig making, you’ll need a few essential tools and materials:
- Wig Cap: Acts as a base for attaching the hair strands.
- Hair Wefts or Strands: For creating the wig itself.
- Wig Head or Mannequin: Provides a stable surface to work on.
- Needle and Thread: For sewing the hair wefts onto the wig cap.
- Scissors: To trim and shape the wig.
- Wig Styling Tools: For final adjustments and styling.
Step-by-Step Guide to Making Hair Wigs
Step 1: Preparing the Wig Cap
Start by preparing your wig cap. Place it on the wig head or mannequin, ensuring it’s securely fitted. This will serve as the foundation for your wig.
Step 2: Attaching Hair Wefts
Begin attaching the hair wefts or strands to the wig cap. Start from the nape of the neck and work your way up. Use a needle and thread to sew the wefts in place, making sure each layer is secure and evenly spaced.

Step 3: Shaping the Wig
Once all the hair wefts are attached, it’s time to shape the wig. Trim the hair to your desired length and style. Pay attention to the natural flow and volume to ensure a realistic look.
Step 4: Adding Personal Touches
Add any personal touches or styling details. You might want to add layers, curls, or straightening depending on the look you’re going for. Use wig styling tools to achieve the perfect finish.
Step 5: Final Adjustments
Finally, make any necessary adjustments. Check for any loose areas or uneven sections. Ensure the wig fits comfortably on the wearer’s head and adjust the wig cap if needed.
Caring for Your Handmade Wig
Cleaning and Maintenance
Proper care is essential for maintaining the quality of your wig. For synthetic wigs, gentle washing with a mild shampoo and conditioner is recommended. For human hair wigs, regular washing, conditioning, and proper storage will help extend the lifespan of the wig.
Storage Tips
Store your wig on a wig stand or mannequin head to keep its shape. Avoid exposing it to direct sunlight or harsh environments to prevent damage.
Benefits of Making Your Own Hair Wig
Customization
One of the biggest advantages of making your own wig is customization. You have complete control over the style, color, and length, ensuring a perfect match to your personal preferences.
Cost-Effectiveness
Creating your own wig can be more cost-effective compared to purchasing pre-made wigs. Investing in quality materials and tools can save you money in the long run.
Creative Expression
Wig making allows for a high level of creative expression. You can experiment with different styles and techniques, making each wig a unique creation.
Common Mistakes to Avoid
Using Low-Quality Materials
Avoid using low-quality hair or wig caps as these can affect the overall look and durability of your wig. Investing in high-quality materials will yield better results.
Skipping the Planning Phase
Planning is crucial for successful wig making. Skipping this step can lead to mistakes and a final product that doesn’t meet your expectations. Take time to plan and design your wig before starting.
Not Following Proper Care Instructions
Failing to follow proper care instructions can lead to premature wear and tear. Ensure you follow the recommended cleaning and maintenance guidelines for your specific wig type.
Tips for Beginners
Start Simple
If you’re new to wig making, begin with a basic design. Simple styles will help you get comfortable with the techniques and tools before advancing to more complex designs.
Use a Wig Template
A wig template can be incredibly helpful for beginners. It provides a structured guide to follow and helps ensure that your wig is symmetrical and well-fitted.
Practice Regularly
Like any craft, practice is key. The more you work on making wigs, the better you’ll become. Set aside time regularly to practice different techniques and styles.
Advanced Techniques
Lace Front Wigs
Lace front wigs offer a natural hairline and are a popular choice for many. To create a lace front wig, you’ll need lace fabric to attach the hair wefts. This technique requires careful application and can be more intricate, but the result is a realistic, natural-looking wig.
Full Lace Wigs
Full lace wigs provide the most versatility in styling. They can be styled in any direction, and the lace base offers a comfortable fit. Creating a full lace wig involves more detailed work, including securing the lace and attaching the hair wefts meticulously.
Adding Highlights and Lowlights
For a more dynamic look, consider adding highlights and lowlights to your wig. This can be done using hair dye or color sprays. Make sure to test any dyes on a small section of hair first to ensure the color turns out as desired.
Choosing the Right Hair for Your Wig
Human Hair vs. Synthetic Hair
When choosing hair for your wig, consider whether you want to use human hair or synthetic hair. Human hair offers more styling options and a natural appearance, while synthetic hair is more affordable and easier to maintain.
Hair Texture
Choose a hair texture that matches your desired look. Whether you prefer straight, wavy, or curly hair, selecting the right texture will impact the final appearance of your wig.
Hair Color
Decide on the hair color that complements your style. You can choose from a variety of shades, including natural colors and vibrant hues. Remember, if you’re dyeing the hair yourself, start with a small test strand.
Troubleshooting Common Issues
Uneven Hair Lengths
If you notice uneven hair lengths, trim the wig carefully to achieve a balanced look. Use sharp scissors and work slowly to avoid cutting too much.
Loose Wefts
If any of the wefts become loose, reattach them using a needle and thread. Ensure they are secured properly to avoid any future issues.
Frizz and Tangles
To manage frizz and tangles, use a detangling spray and a wide-tooth comb. Regular conditioning can also help keep the hair smooth and manageable.
Conclusion
Making hair wigs is a fulfilling and creative process that allows for complete customization and personal expression. By following the steps outlined in this guide, you can create a high-quality wig that meets your needs and preferences. Remember to invest in quality materials, plan carefully, and care for your wig properly to ensure long-lasting results.


Leave a Reply