


How to Make Glueless Wigs: A Step-by-Step Guide
Creating a glueless wig offers versatility and ease of use, making it an attractive choice for many. Whether you’re new to wig-making or looking to refine your skills, this comprehensive guide will take you through the entire process of crafting glueless wigs, ensuring they look natural and stay securely in place.
Understanding Glueless Wigs
What is a Glueless Wig?
A glueless wig is designed to be worn without adhesive, making it easy to apply and remove. Typically made with adjustable straps and combs, these wigs provide a secure fit without the mess of glue or tape. They are ideal for those who want the look of a wig without the commitment or potential damage to their natural hair.
Benefits of Glueless Wigs
- Convenience: Easily put on and take off as needed.
- Comfort: No sticky residues or irritation from adhesives.
- Versatility: Change your look frequently without hassle.
- Hair Health: Reduces the risk of damage to your natural hair and scalp.
Materials Needed for Making Glueless Wigs
Essential Supplies
To create a glueless wig, gather the following materials:
- Wig Cap: Choose a breathable cap that fits snugly.
- Hair Wefts: Select high-quality human or synthetic hair.
- Needle and Thread: Use a strong thread that matches the hair color.
- Wig Clips: For added security and convenience.
- Adjustable Straps: These help customize the fit of the wig.
- Scissors: For trimming excess hair and finishing touches.
- Mannequin Head: Provides a stable surface to construct the wig.
Step-by-Step Guide to Making Glueless Wigs
Step 1: Prepare the Wig Cap
Begin by placing the wig cap on the mannequin head. Make sure it fits tightly but comfortably. If necessary, adjust the cap by sewing or pinning to ensure it doesn’t shift during the construction process.
Step 2: Measure and Cut the Hair Wefts
Next, measure the hair wefts to ensure they match the desired length of the wig. Cut the wefts to your preferred size, keeping in mind that shorter pieces may be needed for the crown area to maintain a natural appearance.
Step 3: Sew the Hair Wefts onto the Cap
Start sewing the hair wefts onto the wig cap from the nape of the neck and work your way up. Use a simple sewing technique, ensuring each weft is securely attached.
- Double Stitch: This adds strength to your seams, ensuring the hair remains in place over time.
- Skip Rows: For a layered look, skip a row every few wefts to create volume.
Step 4: Add Adjustable Straps and Wig Clips
After attaching the hair wefts, sew adjustable straps to the sides of the cap. This allows for a customizable fit. Next, add wig clips around the perimeter for extra security. Position them where they won’t irritate your scalp.
Step 5: Trim and Style
Once all components are attached, trim the wig to your desired style. Use sharp scissors to create clean lines and layers, ensuring a natural look.
- Layering: Adding layers can enhance volume and movement.
- Bangs: Consider incorporating bangs for a trendy touch.
Step 6: Final Touches
For the final touches, brush through the hair to remove any tangles and ensure it flows naturally. Use a heat protectant if you plan to style with heat tools.
Tips for Maintaining Your Glueless Wig
Regular Cleaning
Keep your glueless wig looking fresh by washing it regularly. Use a mild shampoo and conditioner specifically designed for wigs. Avoid harsh chemicals that can damage the hair fibers.
Storage
When not in use, store your wig on a mannequin head or in a breathable bag to maintain its shape. Avoid damp or direct sunlight, which can fade colors and alter textures.
Styling Techniques
To enhance the longevity of your wig, consider using heat-free styling methods, such as braiding or pin curls. If you must use heat, always apply a heat protectant.
Choosing the Right Hair Type
Human Hair vs. Synthetic Hair
When making a glueless wig, deciding between human hair and synthetic hair is crucial:
- Human Hair: Offers the most natural look and can be styled just like your own hair. However, it tends to be more expensive and requires more maintenance.
- Synthetic Hair: Generally more affordable and easier to care for, synthetic options can come pre-styled but may not withstand heat styling as well as human hair.
Common Mistakes to Avoid
Overpacking the Wig Cap
Avoid attaching too many wefts too closely together. This can cause the wig to look bulky and unnatural. Aim for a balance that maintains a natural density.
Ignoring Cap Size
Choosing the wrong wig cap size can lead to discomfort or slippage. Always measure your head circumference and select a cap that fits well.
Skipping Maintenance
Regularly caring for your glueless wig is essential for longevity. Neglecting maintenance can lead to tangling and a dull appearance.

Getting Creative with Your Glueless Wigs
Exploring Different Styles
Once you’ve mastered the basics of making glueless wigs, consider experimenting with various styles. Here are a few ideas to inspire your creativity:
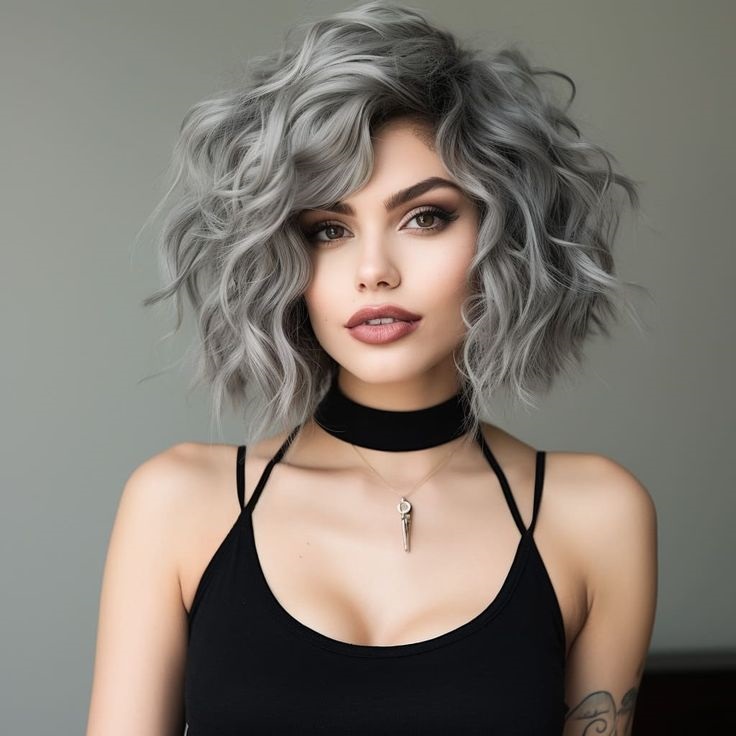
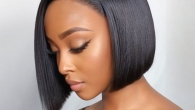
1. Bob Cut
A bob cut is a timeless classic. This style can be tailored to suit different face shapes and personal preferences. To create a glueless bob wig:
- Cut Evenly: Use sharp scissors to ensure a straight line at the ends.
- Add Layers: For a more dynamic look, incorporate subtle layers.
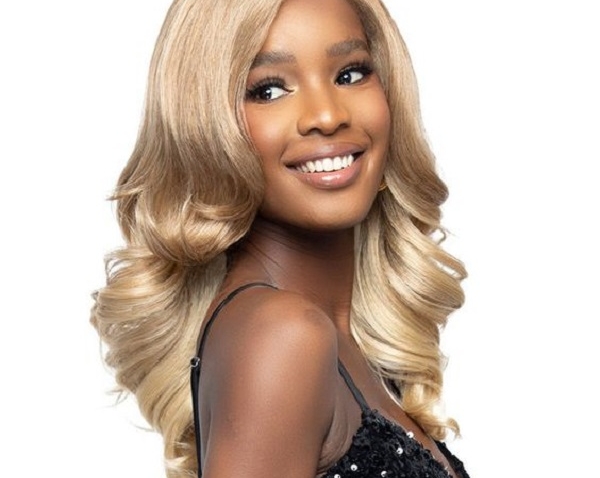
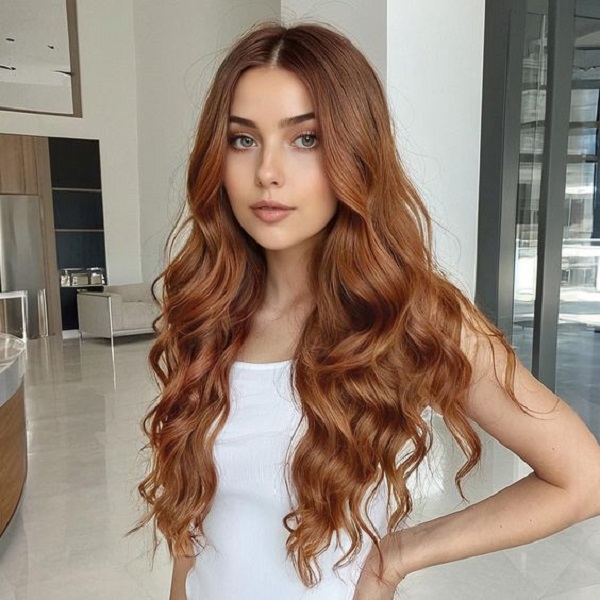
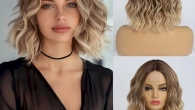
2. Long Waves
Long, flowing waves can add a glamorous touch to any outfit. Here’s how to achieve this look:
- Use Longer Wefts: Ensure the wefts are long enough to create the desired length.
- Curling Technique: Use a curling iron or heatless curling methods for soft, romantic waves.
3. Updos
Updos are perfect for formal occasions or a chic, casual look. To make a glueless wig suitable for updos:
- Secure the Base: Ensure the clips and adjustable straps are properly placed for a snug fit.
- Bobby Pins: Use bobby pins to secure any loose pieces when styling your hair up.
Adding Color and Highlights
Adding color or highlights to your glueless wig can create a striking appearance. Here’s how to safely color your wig:
- Use Dye Formulated for Wigs: Whether you’re using synthetic or human hair, ensure you use the appropriate dye.
- Test First: Always conduct a strand test to see how the hair reacts to the color.
- Follow Instructions: Adhere to the dye manufacturer’s instructions for the best results.
When to Replace Your Glueless Wig
Signs of Wear
Even the best wigs have a lifespan. Knowing when to replace your glueless wig is crucial. Look for these signs:
- Tangling: If your wig tangles easily despite regular care, it may be time for a replacement.
- Fading Color: Significant fading indicates wear, especially in synthetic wigs.
- Loss of Shape: If the wig no longer maintains its style or volume, consider a new one.
Caring for Your Wig to Extend Its Life
To maximize the lifespan of your glueless wig, follow these tips:
- Store Properly: Always store your wig in a cool, dry place away from direct sunlight.
- Use Products Wisely: Use wig-safe products to avoid damaging the fibers.
- Limit Heat Styling: Excessive heat can weaken the fibers, particularly in synthetic wigs.
Enjoying Your Glueless Wig
Creating your own glueless wig is a rewarding experience that allows for personalized style and convenience. By following these steps and tips, you can craft a beautiful wig that complements your look while ensuring comfort and security.


Leave a Reply