


How to Start Making Wigs: A Comprehensive Guide
Making your own wigs can be a rewarding and cost-effective venture. Whether you’re a budding entrepreneur or simply looking to create unique styles, this guide will walk you through the essential steps to start making wigs. From selecting the right hair to mastering wig construction techniques, we’ll cover everything you need to know.
Understanding the Wigs Making Process
Before diving into the nitty-gritty, it’s crucial to grasp the fundamental steps involved in wig making:
- Hair Selection: Choosing the right hair type, texture, and color is paramount for achieving your desired look.
- Wig Cap Construction: Creating a sturdy and comfortable base for your wig is essential.
- Hair Attachment: Securely attaching the hair to the wig cap requires specific techniques.
- Styling and Finishing: Bringing your wig to life involves styling, cutting, and adding finishing touches.
Essential Tools and Materials
To embark on your wig-making journey, you’ll need the following tools and materials:
- Wig cap: Available in various sizes and materials.
- Wig needles: Specifically designed for wig making.
- Wig thread: Strong and durable thread for attaching hair.
- Wig mannequin head: For displaying and working on your wig.
- Hair clippers and shears: For cutting and styling the hair.
- Comb and brushes: For detangling and styling.
- Wig glue or tape: For securing the wig to the head.
- Styling products: Hairspray, gel, mousse, etc.
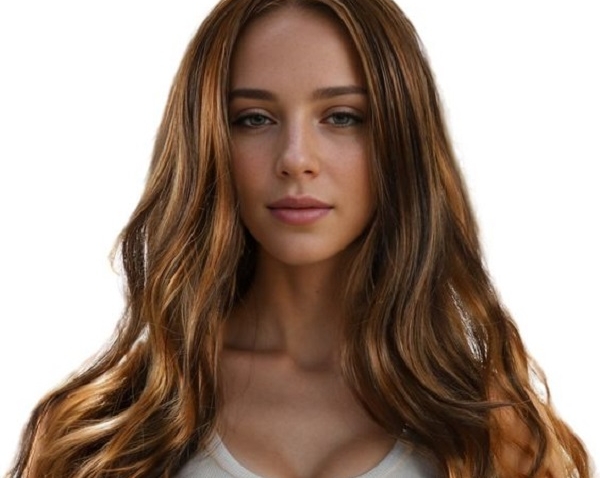
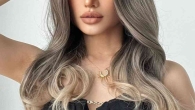
Selecting the Perfect Hair
The heart of any wig is the hair. Consider the following factors when choosing hair:
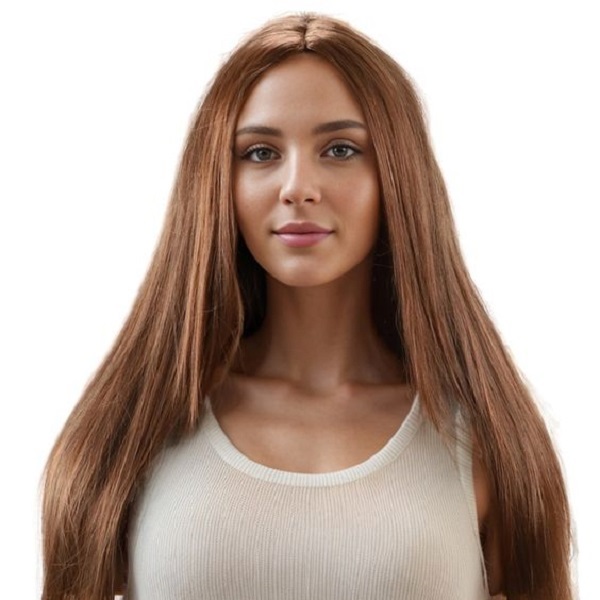
- Hair type: Human hair, synthetic hair, or a blend.
- Hair texture: Straight, curly, wavy, or kinky.
- Hair length: Short, medium, or long.
- Hair color: Match your desired look or experiment with different shades.
Building the Wig Cap
A well-constructed wig cap provides a comfortable and secure foundation. Here’s a basic guide:
- Choose the right cap size: Measure the head circumference to determine the appropriate size.
- Select a cap material: Options include lace, nylon, or silk.
- Cut and shape the cap: Follow a pattern or create your own design.
- Reinforce the edges: Ensure durability and prevent fraying.
Attaching the Hair
There are several methods for attaching hair to a wig cap:
- Hand-knotting: A time-consuming but precise technique.
- Sewing: Faster and suitable for larger sections of hair.
- Weft sewing: Involves attaching pre-made hair wefts.
- Gluing or taping: Quick but may not be as durable.
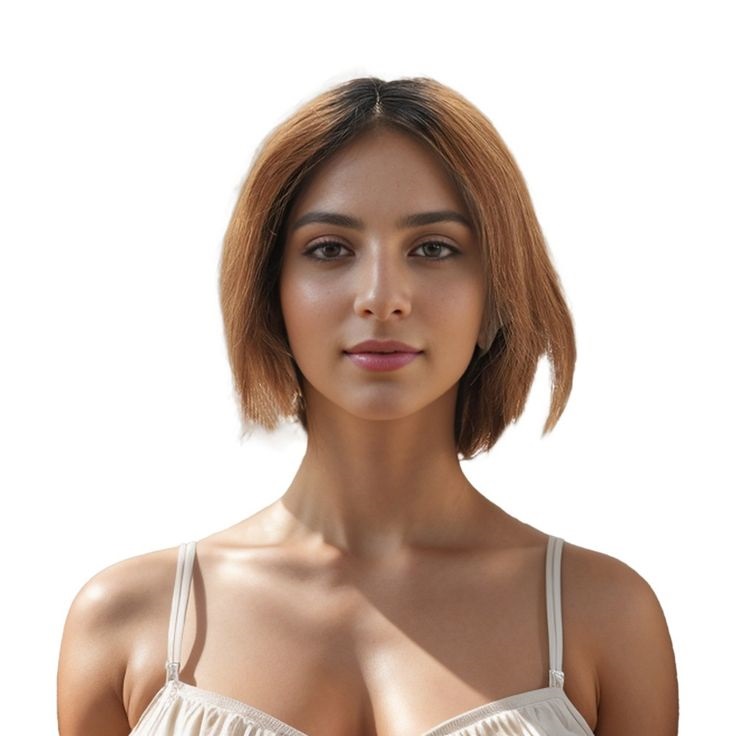
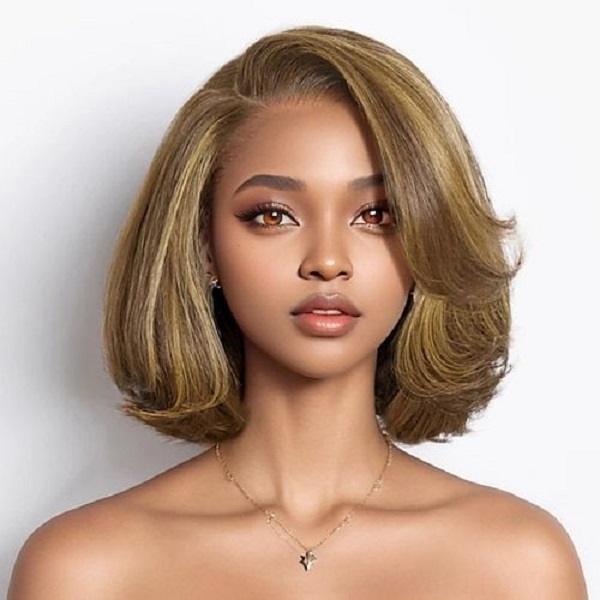
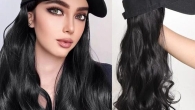
Styling Your Wigs
Once the hair is attached, it’s time to bring your wig to life:
- Cut and layer the hair: Achieve your desired shape and style.
- Style the bangs: Create a flattering fringe.
- Add volume and texture: Use styling products to enhance the look.
Tips for Wigs Care
Proper care extends the life of your wig:
- Gentle washing: Use wig-specific shampoo and conditioner.
- Avoid heat styling: Excessive heat can damage the hair.
- Store properly: Keep your wig in a cool, dry place.
Selling Your Wigs
If you decide to turn your wig-making hobby into a business, consider the following:
- Target market: Identify your ideal customer.
- Branding: Create a strong brand identity.
- Pricing: Determine competitive and profitable prices.
- Sales channels: Choose the best platforms to sell your wigs (e.g., online stores, social media, wholesale).
- Marketing and advertising: Promote your wigs effectively.
Hair Selection: The Foundation of Your Wigs
Choosing the right hair is akin to selecting the perfect canvas for a masterpiece. It’s the cornerstone of your wig-making journey.
Understanding Hair Types
- Human hair: Offers the most natural look, feel, and versatility. It can be styled with heat and colored like your own hair. However, it requires more care and maintenance.
- Synthetic hair: Affordable and easy to care for, but may not look as natural and can’t be styled with heat. Ideal for beginners or those on a budget.
- Synthetic/human hair blends: Combine the best of both worlds, offering a balance of affordability, natural appearance, and manageability.
Factors to Consider
- Hair Texture: Straight, wavy, curly, or kinky – choose a texture that complements your desired style.
- Hair Length: Determine the desired length of your wig. Remember, longer hair often requires more maintenance.
- Hair Density: The thickness of the hair affects the wig’s volume and fullness.
- Hair Color: Match your natural hair color or experiment with different shades.
Hair Sourcing
- Hair vendors: Many online and offline vendors specialize in selling wig-making hair.
- Hair donations: Some organizations collect human hair donations for wig making.
- Remy hair: Considered high-quality, Remy hair has cuticles aligned in the same direction, preventing tangling and frizz.
Hair Preparation
Before attaching the hair to the wig cap, it’s crucial to prepare it:
- Detangling: Gently remove knots and tangles with a wide-tooth comb or detangling brush.
- Washing: Cleanse the hair to remove any dirt or product buildup.
- Drying: Allow the hair to air dry completely before handling.
Hair Wefting (Optional)
For larger wig projects, creating hair wefts can streamline the attachment process:
- Gather hair: Collect hair bundles of desired thickness.
- Create a weft: Sew or glue the hair strands onto a weft material (lace, cotton, or synthetic).
- Secure the weft: Attach the weft to the wig cap using sewing or other methods.
Wigs Cap Construction: Building the Base
A well-crafted wig cap is essential for a comfortable and secure fit. It’s the foundation upon which your wig will be built.
Cap Types
- Lace cap: Offers the most natural hairline and breathability. Ideal for frontal wigs.
- Full lace cap: Entire cap is made of lace, providing ultimate versatility.
- Glueless cap: Features a pre-plucked hairline and elastic band for a secure fit without glue.
- Weft cap: Constructed with wefts sewn onto a cap base.
Cap Construction Steps
- Measure the head: Accurately measure the circumference of the head to determine the cap size.
- Choose a cap pattern: Select a pattern that matches your desired cap type.
- Cut and assemble: Follow the pattern to cut and sew the cap pieces together.
- Reinforce edges: Ensure durability and prevent fraying by reinforcing the cap’s edges.
- Add adjustable straps: Incorporate adjustable straps for a customized fit.
Customizing Your Cap
- Ventilation holes: Create ventilation holes for breathability and comfort.
- Elastic band: Add an elastic band for a secure fit without glue.
- Comb attachments: Sew in combs for extra security.
By carefully selecting the right hair and constructing a sturdy wig cap, you’ve laid the groundwork for a stunning creation. In the next section, we’ll delve into the art of attaching hair to the wig cap.
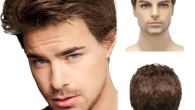
Hair Attachment: Bringing Your Wigs to Life
Attaching hair to the wig cap is a meticulous process that requires patience and precision. There are several methods to choose from, each with its own advantages and challenges.
Hand-Knotting
- Technique: Individual hair strands are knotted onto the wig cap using a wig needle.
- Pros: Creates a natural hairline and allows for customization.
- Cons: Time-consuming and requires skill.
Sewing
- Technique: Hair wefts or individual strands are sewn onto the wig cap using a wig needle and thread.
- Pros: Faster than hand-knotting and suitable for larger sections of hair.
- Cons: Can create a more visible part line.
Weft Sewing
- Technique: Pre-made hair wefts are sewn onto the wig cap using a wig sewing machine or by hand.
- Pros: Quick and efficient for large wig projects.
- Cons: Less customizable than hand-knotting or individual sewing.
Gluing or Taping
- Technique: Hair or wefts are attached to the wig cap using wig glue or tape.
- Pros: Quick and easy to apply.
- Cons: May not be as durable as sewing or knotting, and can damage the hair.
Creating a Natural Hairline
To achieve a realistic look, pay close attention to the hairline:
- Hand-knotting: Create a fine, lace-like appearance by knotting individual hairs.
- Plucking: Gently pluck some hairs from the hairline to create a natural look.
- Baby hair: Add tiny, wispy hairs around the hairline for a realistic baby hair effect.
Density and Coverage
- Consider the desired look: Determine the desired fullness and coverage of the wig.
- Adjust hair placement: Vary the distance between knots or stitches to achieve the desired density.
- Layer hair: Create depth and dimension by layering the hair.
Securing the Hair
- Reinforce knots or stitches: Ensure the hair is securely attached to prevent shedding.
- Use wig glue or tape: For added security, especially in high-stress areas.
With careful attention to detail and practice, you can master the art of hair attachment and create stunning wigs. In the next section, we’ll explore the exciting world of wig styling.
Conclusion
Making your own wigs is a fulfilling craft that allows you to express your creativity. With practice and patience, you can create stunning wigs that turn heads. Start small, experiment with different techniques, and don’t be afraid to make mistakes. With dedication and passion, you’ll be well on your way to becoming a wig-making expert.


Leave a Reply