


A Comprehensive Guide on How to Make Wigs
Ever dreamed of rocking a bold new look without commitment? Make wigs might be the answer you’ve been searching for! Crafting your own wig allows you to personalize your style, experiment with different colors and textures, and even create unique costume pieces. Whether you’re a seasoned hairstylist or a complete beginner, this guide will equip you with the knowledge and steps to embark on your wig-making journey.
Diving Deep: Exploring Different Wig Types
Before diving into the nitty-gritty, familiarizing yourself with the various wig types is crucial. Here’s a breakdown of the most popular options:

- Lace Front Wigs: These wigs offer a realistic hairline thanks to a sheer lace panel at the front. Hair is meticulously hand-tied onto the lace, creating a natural-looking scalp. Lace front wigs are a popular choice for achieving a seamless, undetectable look.
- Full Lace Wigs: As the name suggests, full lace wigs are constructed entirely of lace with hair knotted throughout. This allows for maximum versatility in parting and styling your wig.
- Weft Wigs: Weft wigs are constructed with hair wefts sewn onto a breathable wig cap. They are generally more affordable than lace wigs and come in a variety of styles and lengths.
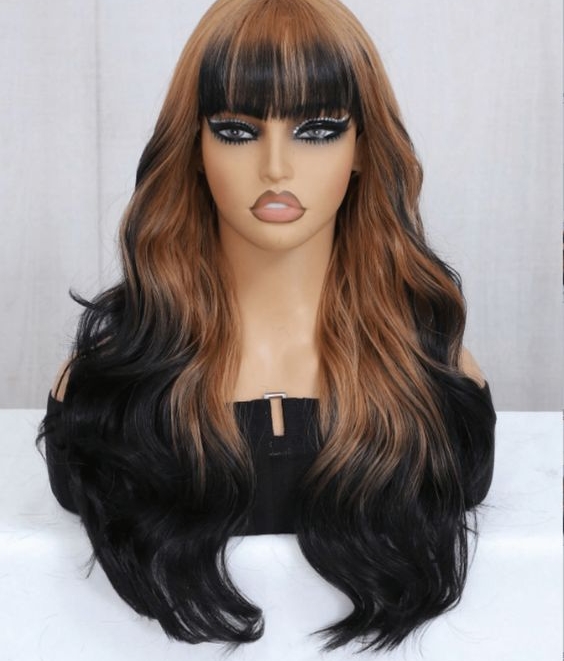
- Synthetic Wigs: Made from heat-resistant synthetic fibers, these wigs are a budget-friendly option. They come in a vast array of colors, textures, and styles, making them perfect for experimenting with bold looks.
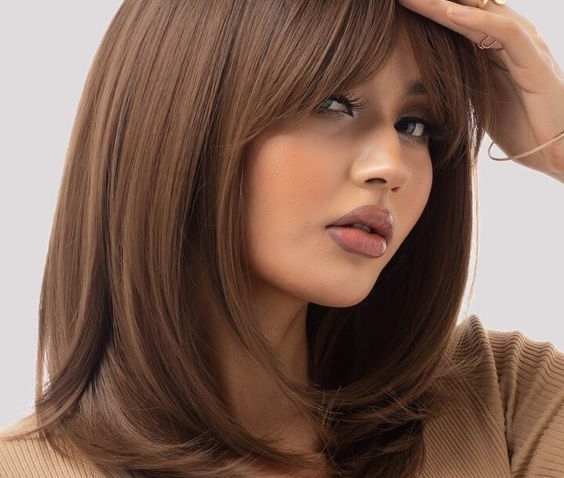
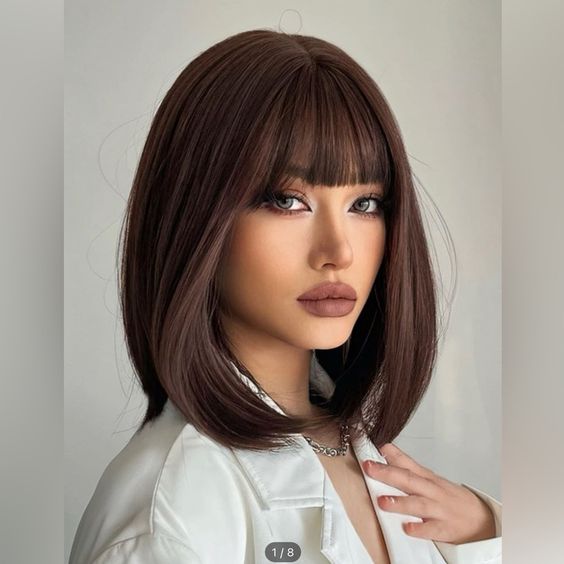
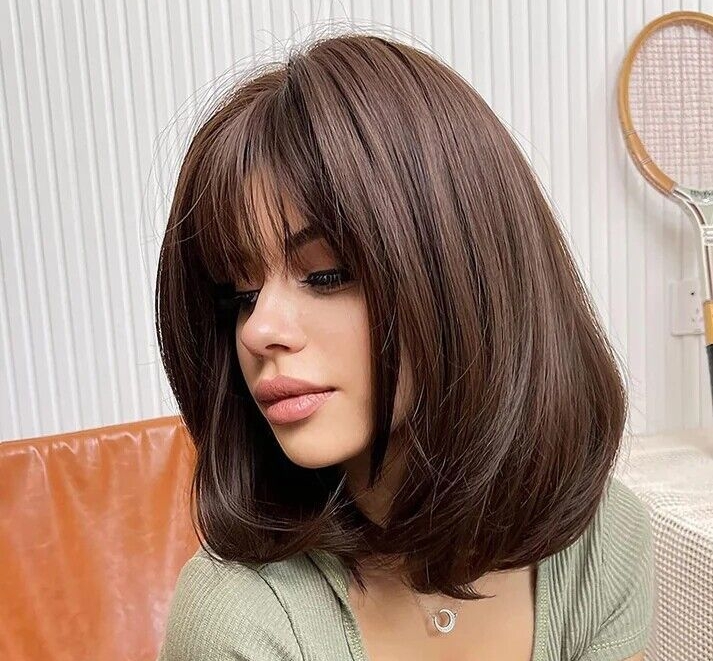
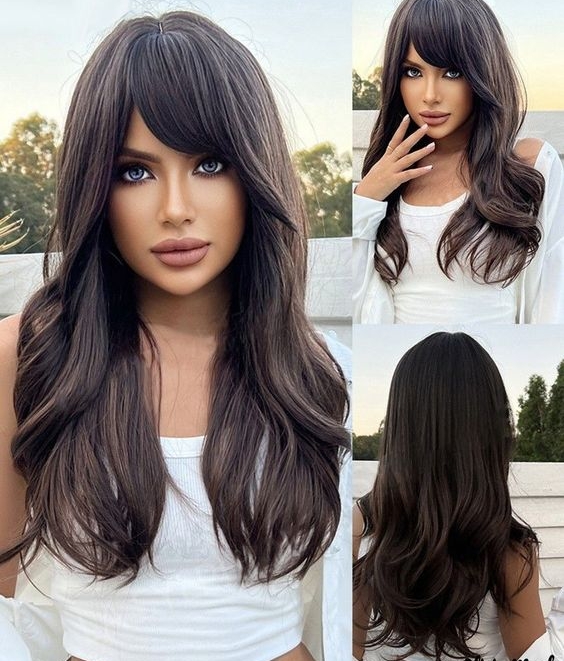
- Human Hair Wigs: Offering the most natural look and feel, human hair wigs are an investment. They can be styled with heat tools just like your natural hair, but require more care and maintenance.
Choosing the Right Wig for You: Consider your desired level of realism, budget, and styling preferences when selecting your wig type.
Setting the Stage: Essential Tools and Materials
Now that you’ve explored the wigging world, it’s time to gather the essentials for crafting your masterpiece:
- Wig Cap: This breathable mesh cap forms the base of your wig and comes in various sizes to ensure a snug fit.
- Weft Hair: Weft hair comes in pre-sewn tracks of human or synthetic hair. Choose hair that matches your desired length, texture, and color.
- Lace (Optional): For lace front or full lace wigs, you’ll need lace material to create a realistic hairline.
- Wig Needle and Thread: A curved-tip needle is ideal for attaching hair wefts to the wig cap. Strong thread is necessary to secure the hair in place.
- Scissors: Sharp fabric scissors are essential for cutting wefts and shaping your wig.
- Wig Stand (Optional): A wig stand will hold your wig in place while you work on it, making the wig-making process more convenient.
- Wig Clips: These clips help secure wefts and lace in place while you sew them onto the wig cap.
Depending on your chosen wig type, you might need additional tools like tweezers for lace work or a crochet hook for attaching hair to a weftless lace cap.
Building Your Base: Securing the Wig Cap
The wig cap is the foundation of your creation. Here’s how to secure it:
- Measure Your Head: Use a flexible measuring tape to determine your head circumference. Choose a wig cap that matches this measurement for a comfortable fit.
- Place the Cap: Put the wig cap on your head, ensuring it sits comfortably and evenly.
- Secure the Cap (Optional): If the wig cap feels loose, use wig clips to secure it in place at the temples and nape of your neck.
Weaving Your Magic: Attaching Hair Wefts
Now comes the exciting part – adding hair to your wig cap! Here’s a step-by-step guide for weft attachment:
- Plan Your Weft Placement: Decide on the overall style and hair density you desire. Weft placement typically starts at the nape of the neck and progresses upwards.
- Prepare the Weft: Depending on the weft’s thickness, you might need to cut it into smaller sections for easier maneuvering.
- Sewing the Weft: Using your curved-tip needle and thread, sew the weft onto the wig cap. Ensure your stitches are secure and hidden within the cap’s mesh.
- Repeat and Layer: Continue attaching wefts, working your way up the head in rows. Overlap the weft slightly as you move upwards to create a natural density.
For a more realistic look, vary the weft direction as you attach them. This mimics natural hair growth patterns.
Shaping Up: Sculpting Your Wig Style
Once you’ve attached all the wefts, it’s time to personalize your wig! Here’s how to shape it to your desired style:
-
Trimming the Hair: Using sharp fabric scissors, carefully trim the hair to your preferred length. Start with longer lengths and gradually cut shorter to achieve the desired shape.
-
Parting the Hair: For a more natural look, create a part line. Use a comb to gently part the hair in your chosen direction, ensuring it blends seamlessly with the wefts.
-
Styling with Heat (Synthetic Wigs Only): If you’re using a heat-resistant synthetic wig, you can style it with a hairdryer, flat iron, or curling iron. Use low to medium heat settings to avoid damaging the fibers.
-
Securing the Lace Front (Lace Front Wigs Only): For lace front wigs, use tweezers and a special wig glue (avoid using regular glue) to adhere the lace to your skin for a realistic hairline.
Pro Tip: Check out wig styling tutorials online for specific techniques on achieving popular hairstyles like bobs, waves, or braids.
Bringing it to Life: Adding Finishing Touches
The final touches elevate your wig from good to great! Here’s how to add some pizzazz:
-
Bleaching the Knots (Lace Wigs Only): For lace wigs with dark knots, bleach them with a wig bleach kit to create a more invisible hairline.
-
Plucking the Hairline: Use tweezers to gently remove a few strands of hair along the front hairline. This mimics the natural baby hairs and adds realism.
-
Adding Accessories: Spice up your wig with headbands, clips, or barrettes for a touch of personality.
Wig Care 101: Keeping Your Creation Looking Flawless
Just like your natural hair, your wig needs proper care to maintain its vibrancy and longevity. Here are some essential tips:
-
Washing: Wash your wig with a gentle shampoo designed for synthetic or human hair wigs (depending on your wig type). Avoid harsh chemicals and hot water.
-
Conditioning: Use a conditioner specifically formulated for wigs to keep the hair hydrated and prevent tangles.
-
Drying: Allow your wig to air dry on a wig stand. Avoid using heat sources like blow dryers, which can damage the fibers.
-
Storage: Store your wig on a wig stand or in a breathable container when not in use. This will help it maintain its shape and prevent tangles.
Unleash Your Creativity: Exploring Beyond the Basics
Wig-making opens doors to endless creative possibilities! Here are some inspiring ideas to take your skills to the next level:
-
Coloring: Experiment with vibrant hair colors or dip-dye techniques to create a unique look.
-
Ombre and Highlights: For a more natural look, add ombre or highlight effects using wig hair dye specifically designed for synthetic or human hair.
-
Costume Wigs: Let your imagination run wild! Craft fantastical wigs for costumes, cosplay, or theatrical productions.
With dedication and practice, you can transform yourself into a wig-making extraordinaire. Embrace the process, have fun experimenting, and don’t be afraid to express your unique style through the art of wig creation!


Leave a Reply